How to install shaders in Minecraft is a tricky subject. Many think that they will be simple to do, but most of them get really frustrating with an unfinished project, so here’s some advice for you.
First, you should know that there are several guides out there with shaders included. If you find one that fits your needs, please take note that there is more than one way to achieve that look. However, the two main ways to achieve them are explained below.
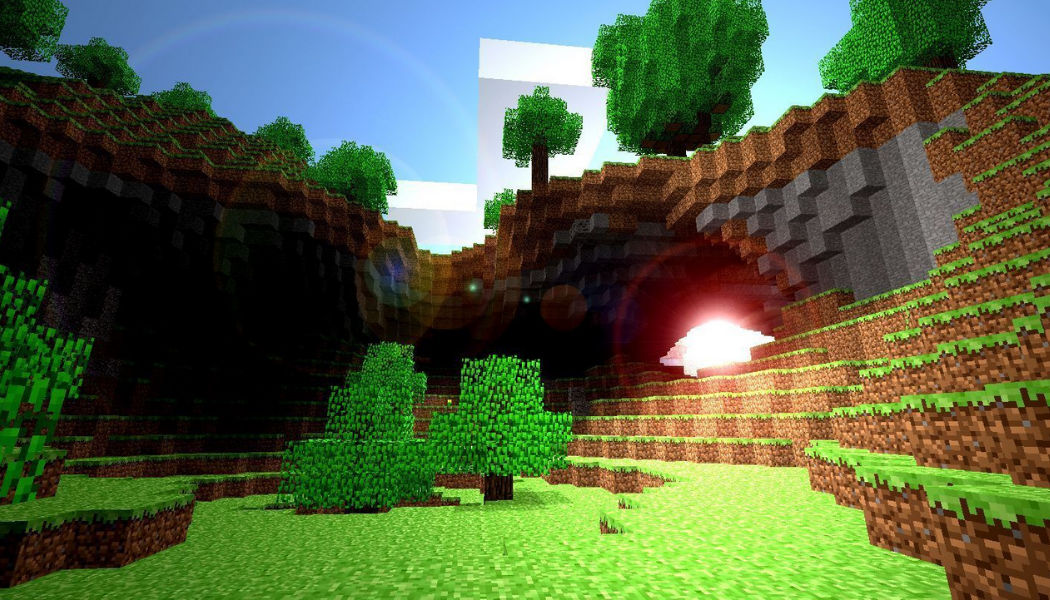
First, a shader is a type of texture. However, its purpose is to be blended and manipulated with another texture. Its properties will depend on the nature of the shares, as well as the environment you have chosen. With other materials, these shaders will have different properties, which means you can get a good contrast between the two surfaces and have them blend together.
For example, the water shader is usually just a simple texture, with three color channels for different colors. The textures that can be used are the same ones that you would use in different worlds or what you have chosen for your world. You will need to place this texture inside the texture folder of the game. You can find this folder at the location of your World folder or within the “data” folder.
When you extract the zip file you’ll see a number of files inside that have extension “.png”. Just right click it and select the “open” option. This will open a window where you’ll see all the textures that you can choose from. Choose the first one you see, then click on the “save as” option and save it in the same folder where you have saved the previous “water.png”.
After that, you can modify the water shader by dragging and dropping on it in the text box. In the field, which is next to the “alpha” you can drag it until you get a perfect result. You can adjust it until it looks like you want it to. It can even get a little more complex, but it will look better and much better if you do it with a lot of experimentation.
When you click “apply”, a window will pop up. The reader has now been applied, and now the end results should be that much better.
In case you want to use other headers and you don’t want to change the existing ones, the process is the same. Just go to the texture folder and find the new texture. There you can click the “remove” button.
In this case, you can change the “replace” option so that you replace the old texture with the new one. This is done by going to the shaders subfolder and then changing the “replace” option so that it points to the new texture.
Note that the shader should be one texture. If you have more than one of the same texture in the texture folder, the one which is the closest to the original texture will be used. For example, if there are a water shader and a stone shower, the water shader will be used first, and the stone shader will be used last.
Once you have completed this tutorial, you should be able to choose any texture for your readers. This is not something whichIns can be done with other textures, because you will be able to use any shaders you want to.